Lightburn profiles and settings
Lightburn is designed for laser cutters, but it generates well-optimised G-code that works on the terraPen.
An alternative, not the recommended route
terraForge is built for this machine and needs none of the setup below. These instructions are here for people already working in Lightburn.
Solenoid machines
The profiles below cover both solenoid and servo toolheads. See Solenoid pen lift for the other settings those machines need.
Download a profile
Pick the profile matching your toolhead, from the Lightburn-Profiles repository:
| Your toolhead | Profile |
|---|---|
| Solenoid with pivot arm | Solenoid Relay INT Fluid NC.lbprefs |
| Solenoid without pivot arm | Solenoid Relay Fluid NC.lbprefs |
| Servo | terraPen_fluidServo.lbprefs |
Settings
The canvas
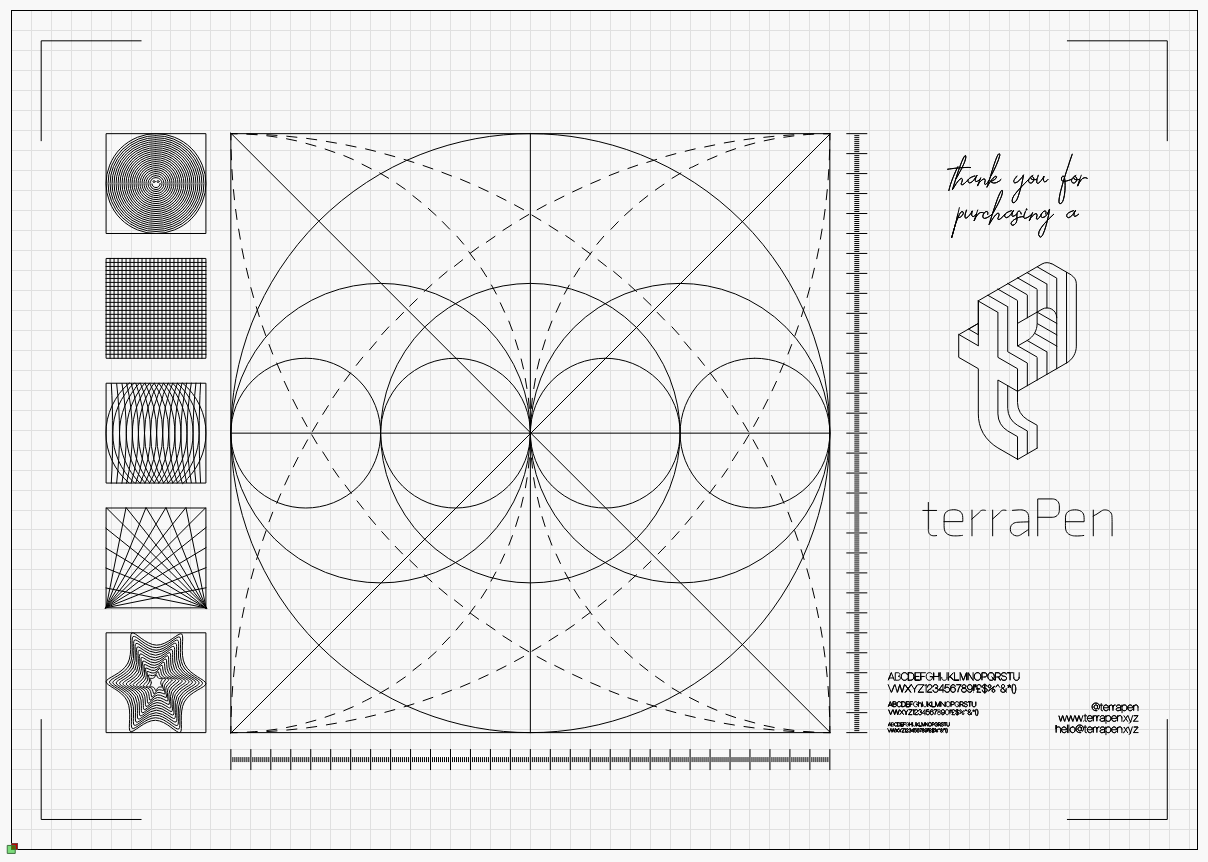
Set the workspace up as an A2 canvas.
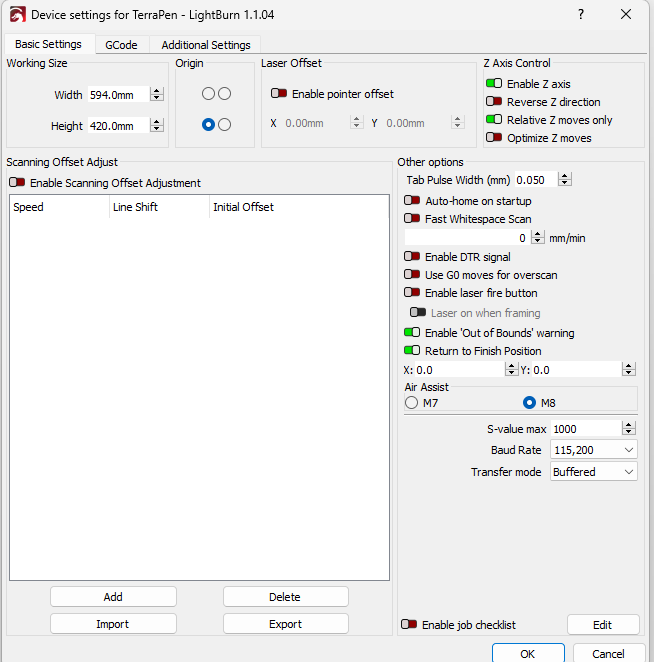
Device settings
Enable Z axis and Relative Z moves only.
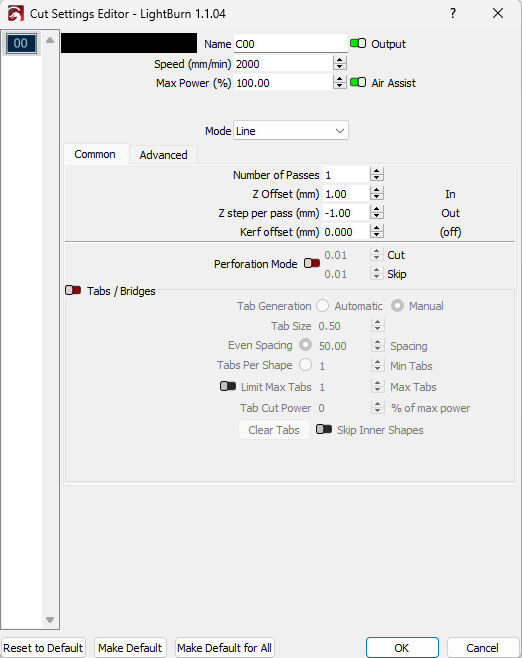
Cut settings, per layer
Set Max Power % to 100.
| Toolhead | Z offset | Z step per pass |
|---|---|---|
| Solenoid | 1 mm | −1 mm |
| Servo | up to 12 mm | — |
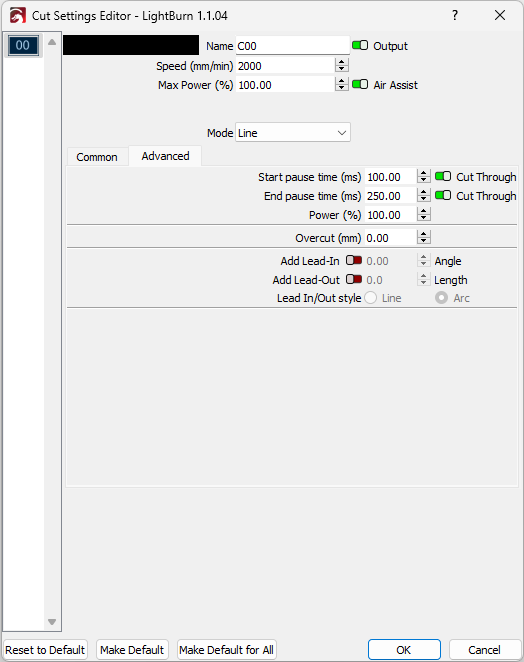
Cut settings — Advanced tab
Enable cut through on both Start pause time and End pause time, and use 100% power. The pause times are a matter of taste, but a good starting point is:
- Start pause time — 100
- End pause time — 250
Saving G-code
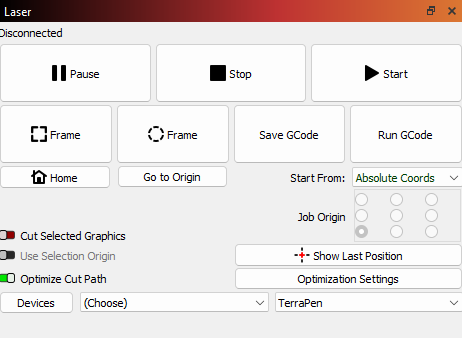
Set Start From to Absolute Coords, with Job Origin set to the bottom-left button. Save the file with a .g extension.
Making your own device profile
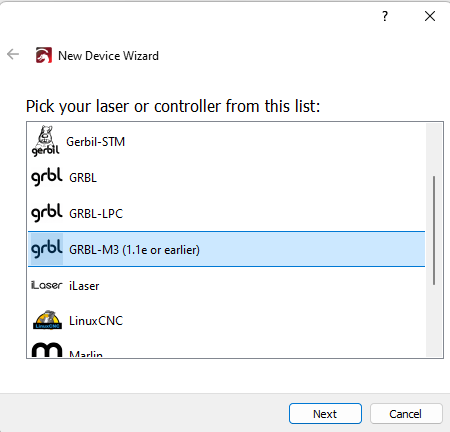
If you set up a device from scratch rather than importing a profile, choose GRBL-M3 (1.1e or earlier).